Puppet Pins:
For this task I learnt how to put interesting puppet pins into a sterile animation. I have tried it with stick man and also a can of Coke.
|
|
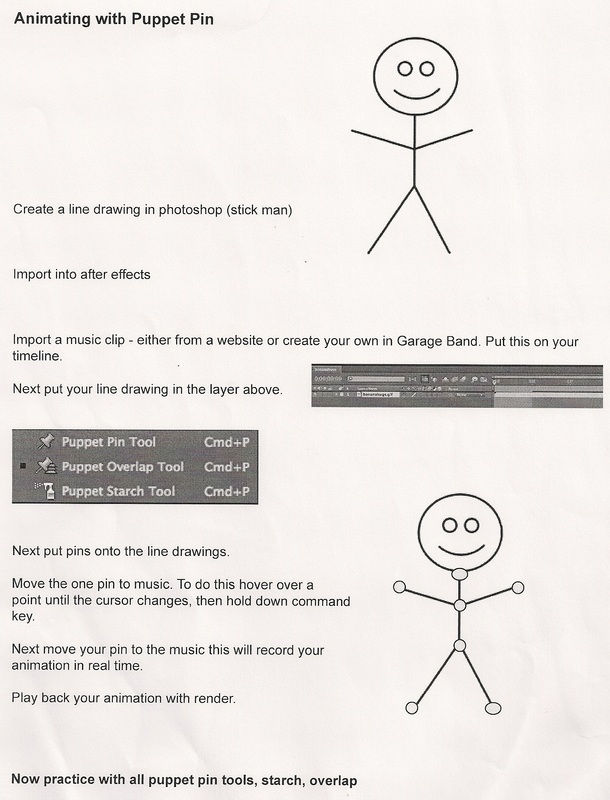
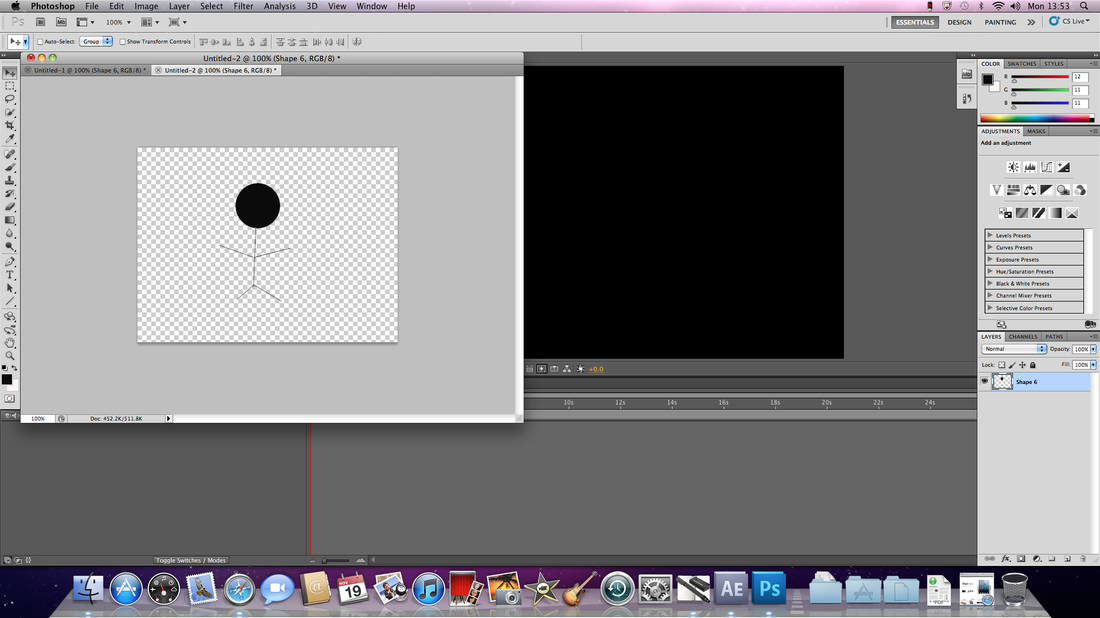
Here on this task I was asked to create a stick man dancing.
I then merged these layers together to make it easier to handle in After Effects.
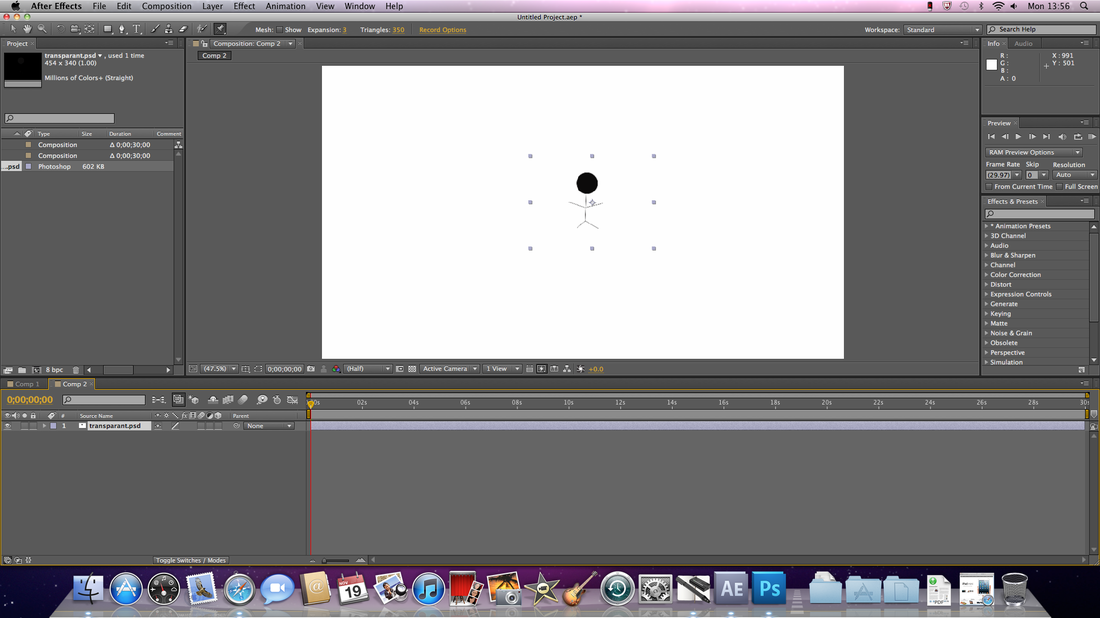
Here is my stick man.
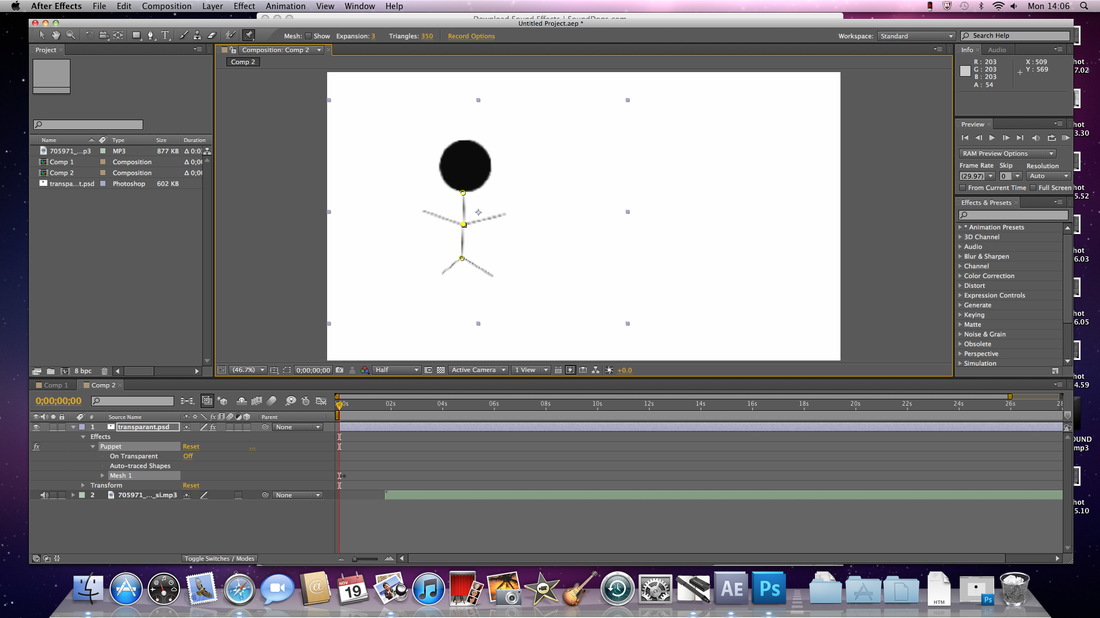
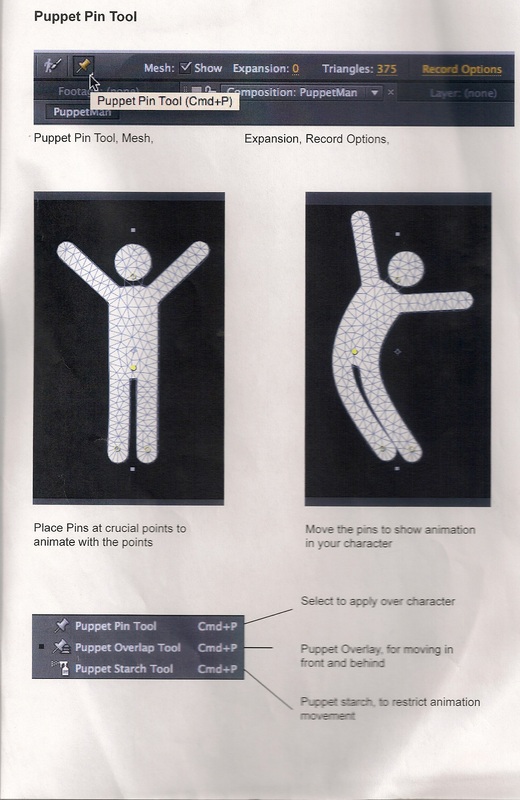
Here I added in Puppet Pins to easily move my stick man freely.
Here, you can see that his body has a curve in which was created using these puppet pins.
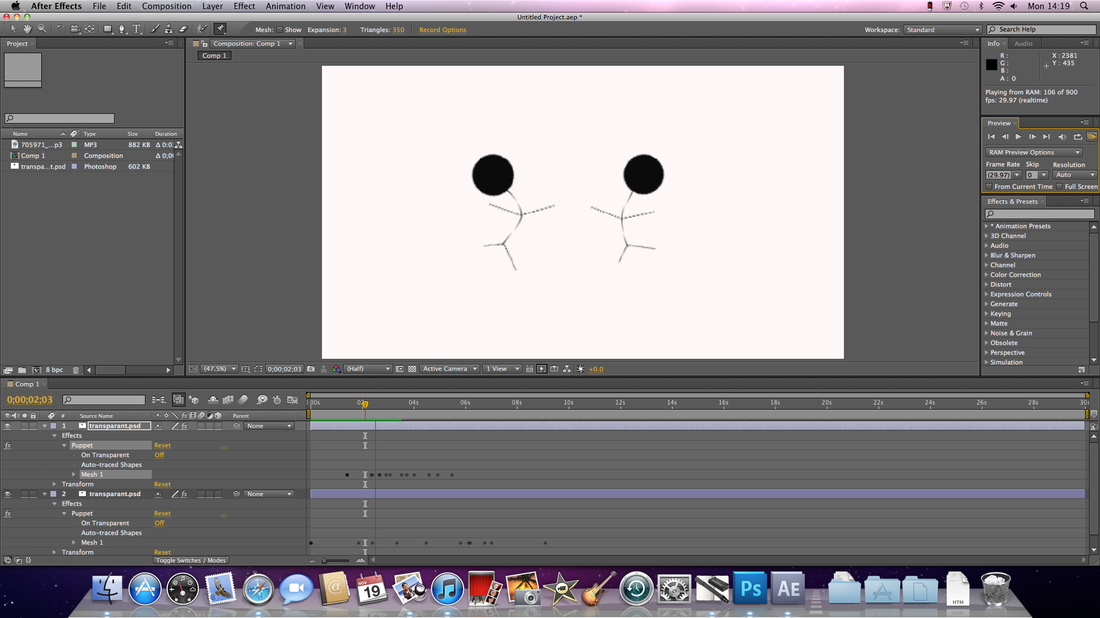
Here I copied my little man again, so I had to stick man dancing.
|
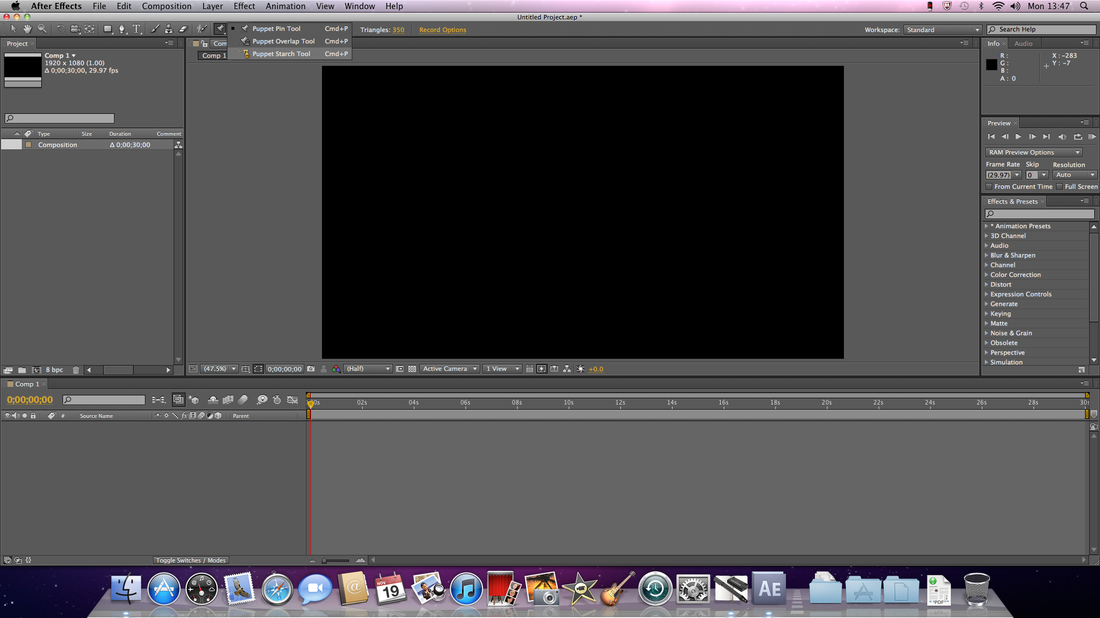
I created the basic body in Photoshop, and imported it into After Effects.
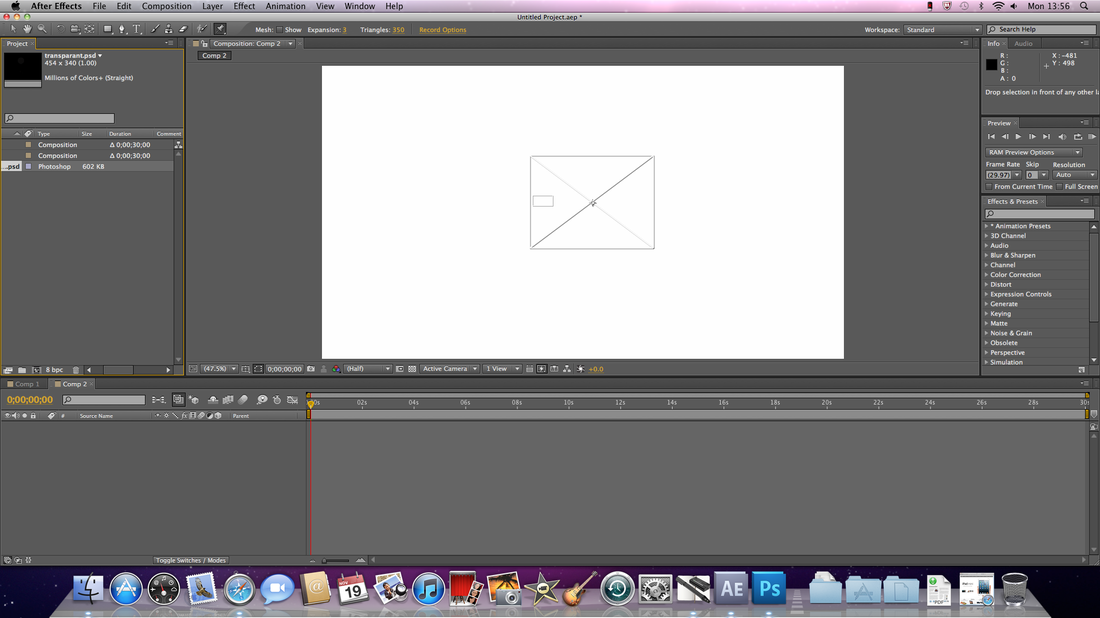
Here I dragged this imported file into the middle of my page to make it easier to move.

Now I made him a little big as the previous stick man was too small.

Here I moved a few of his pins around which in the end made him dance.
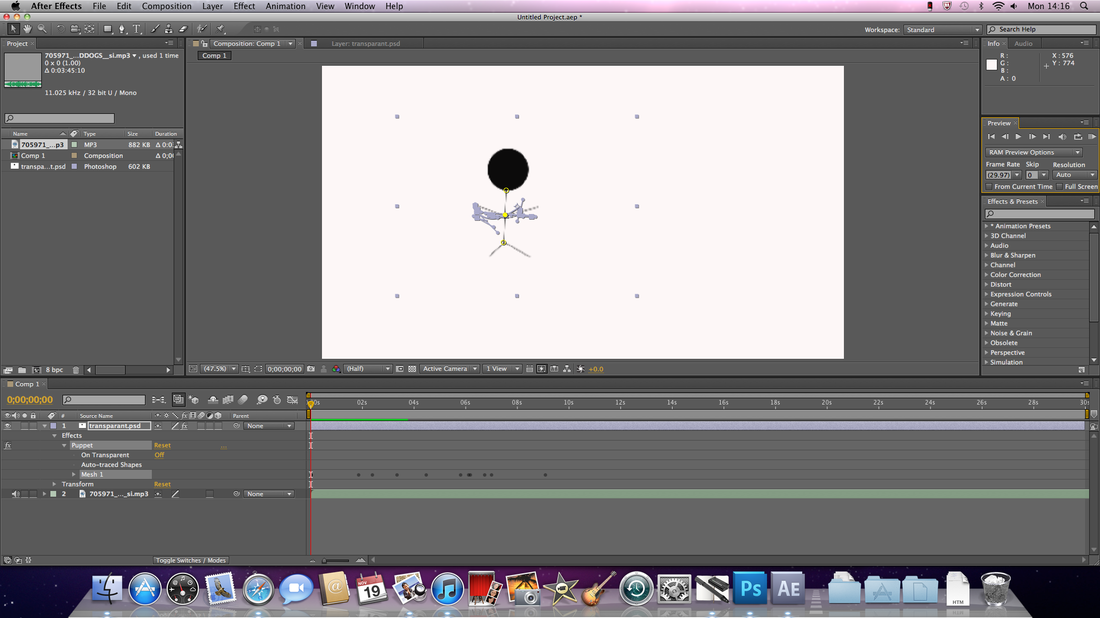
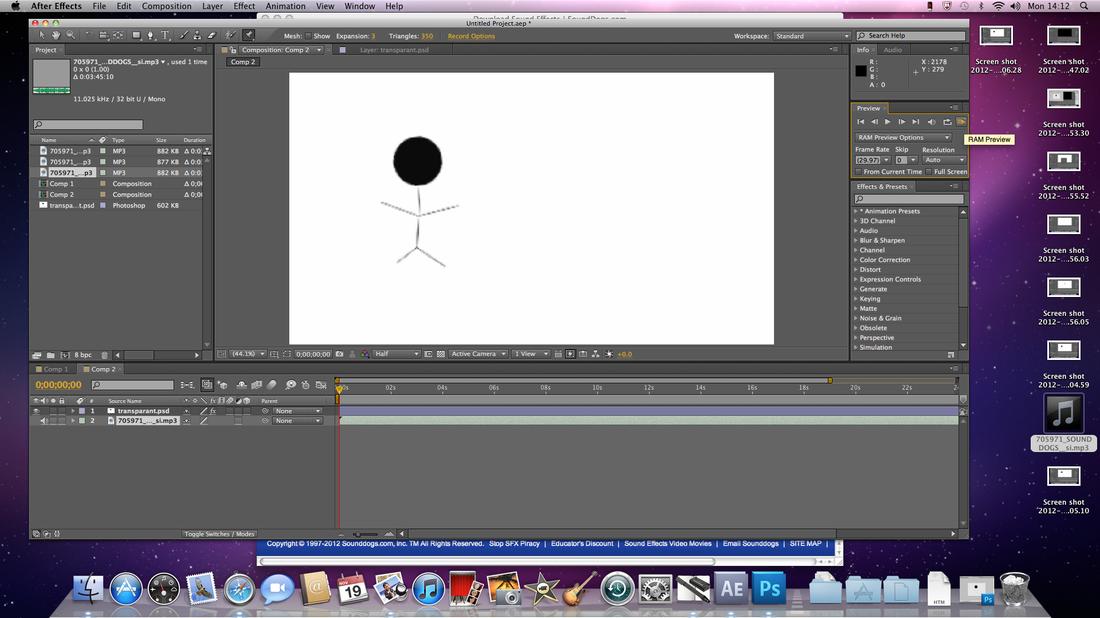
Now you can fully see how much this little man moved just by swaying the pin around.

Here I imported it into iMovie so it can be put onto YouTube.
|
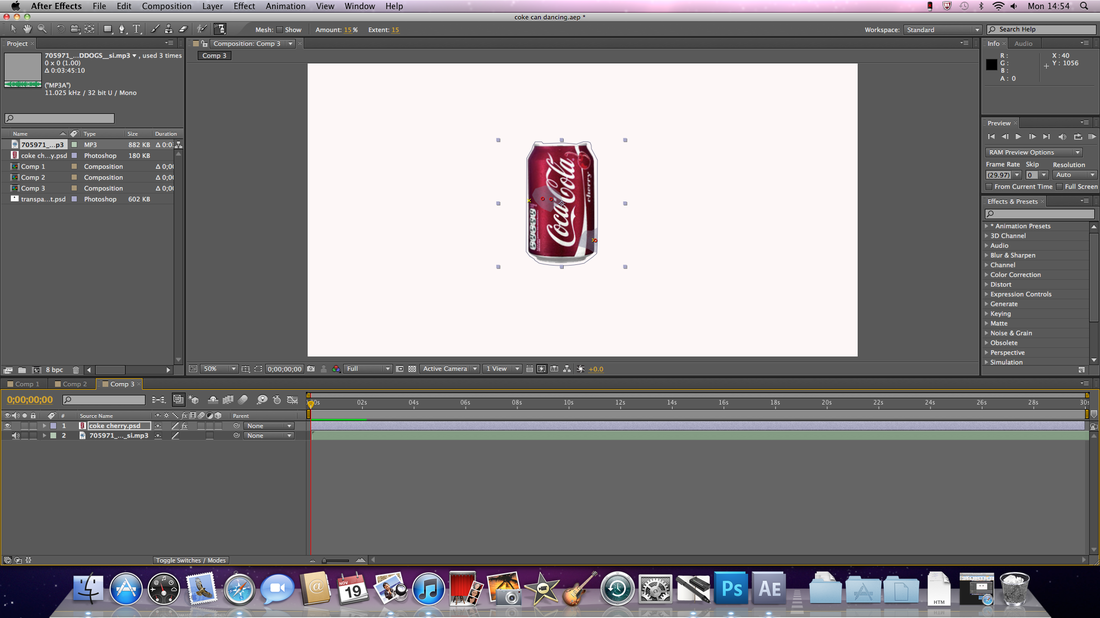
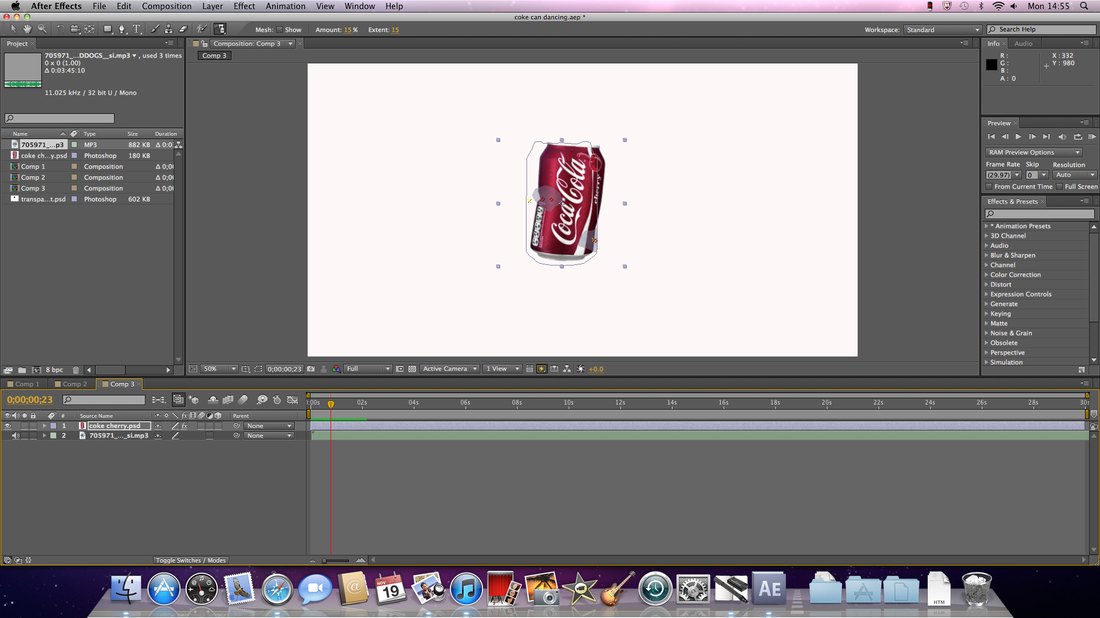
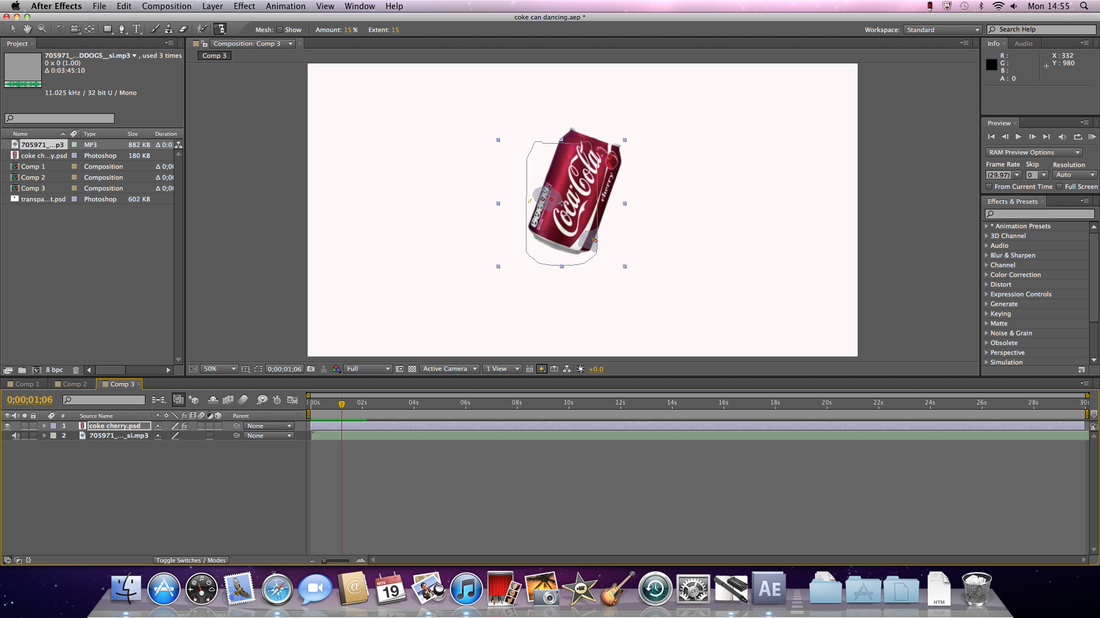
Here I again used puppet pins to make this coke can move.
|
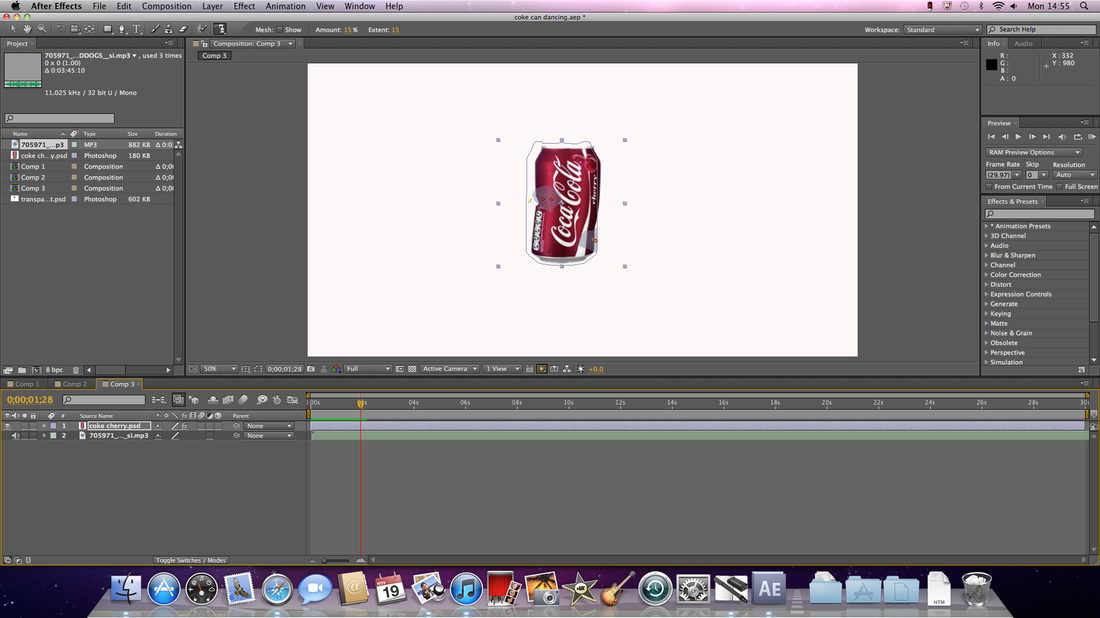
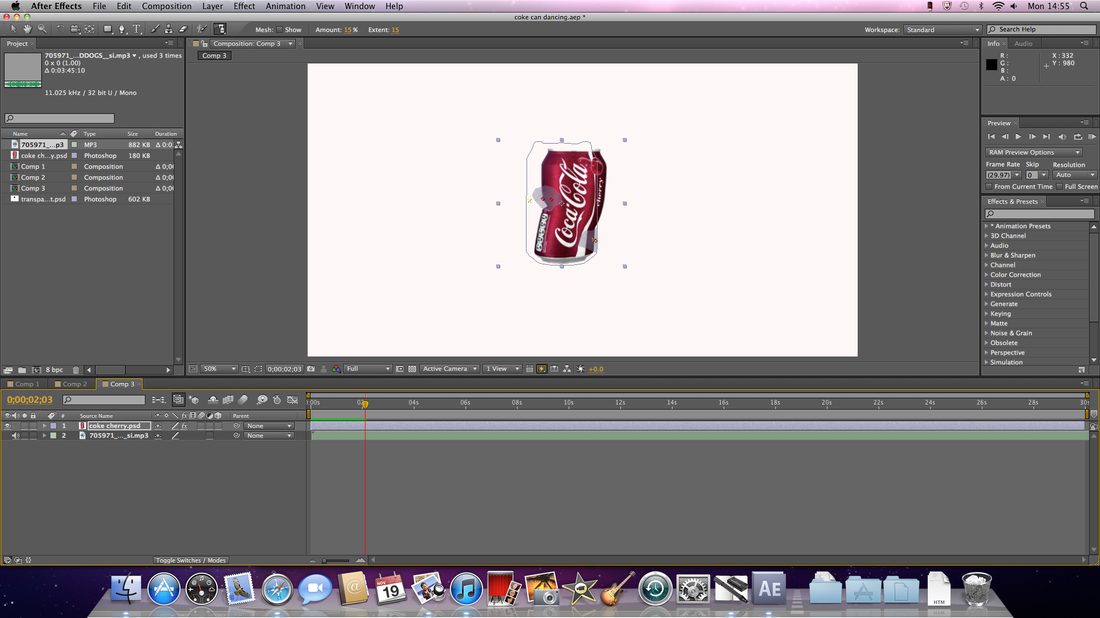
I kept on using puppet pins to make this animation work correctly.
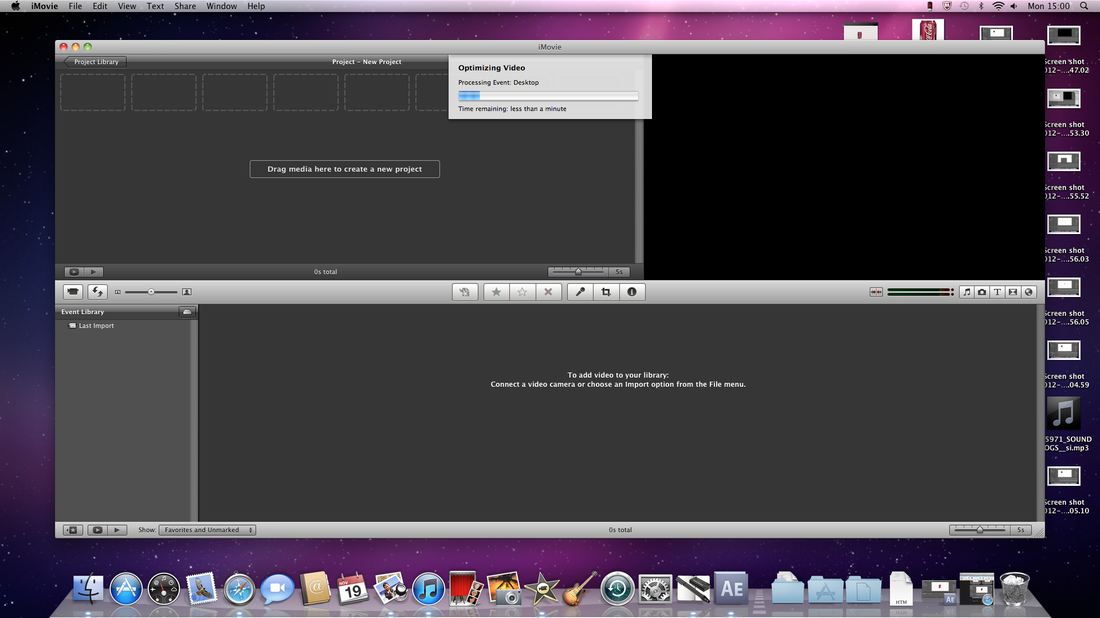
Here I'm importing my Coke Can movie into iMovie.
|
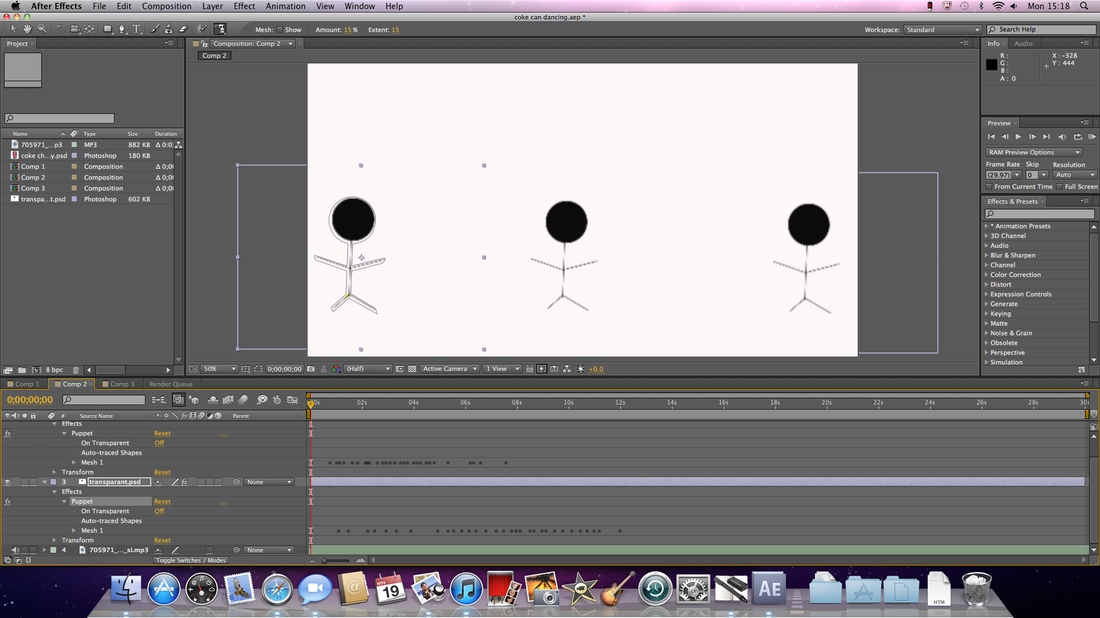
Here I did the same as my first stick man animation, I just copied two extra ones and made them move using puppet pins.

|
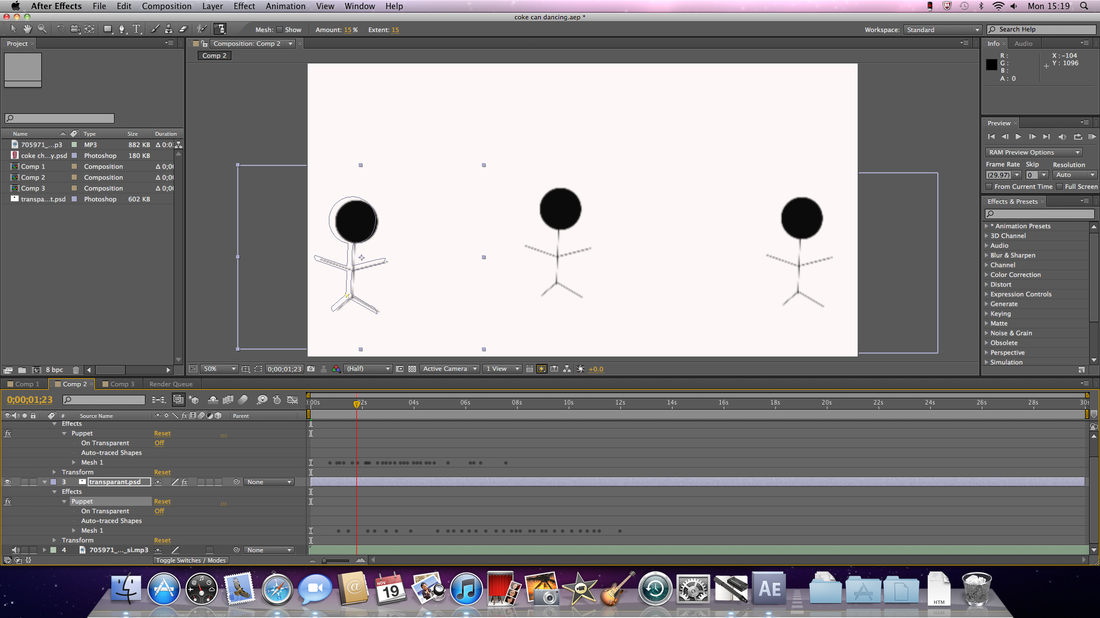
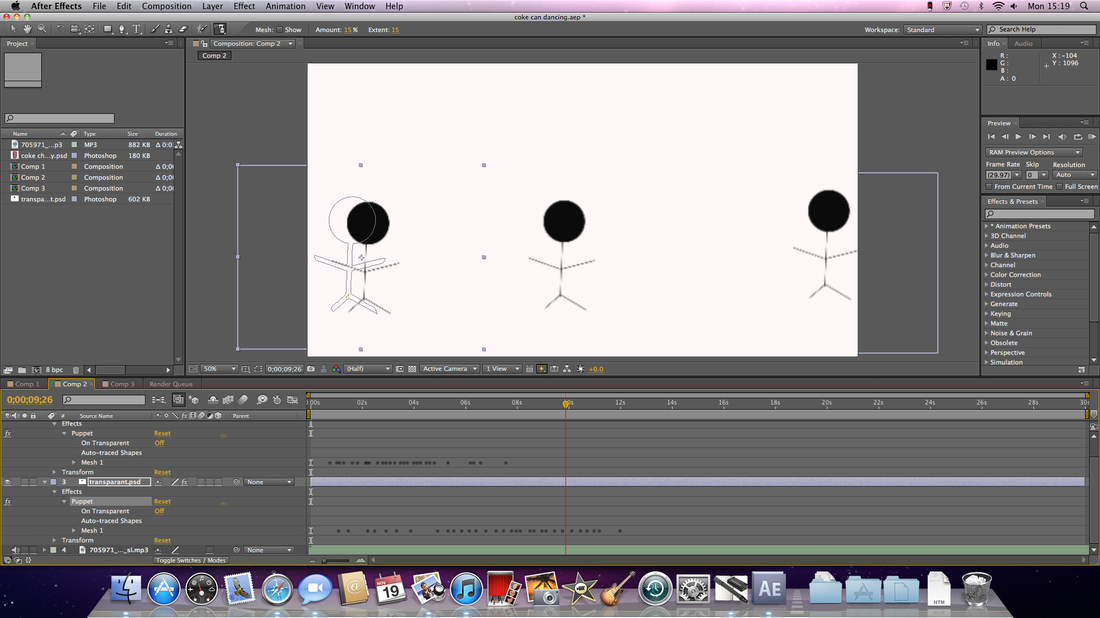
You can see the first stick mans body outline as he was moving from side to side.
|


|


|
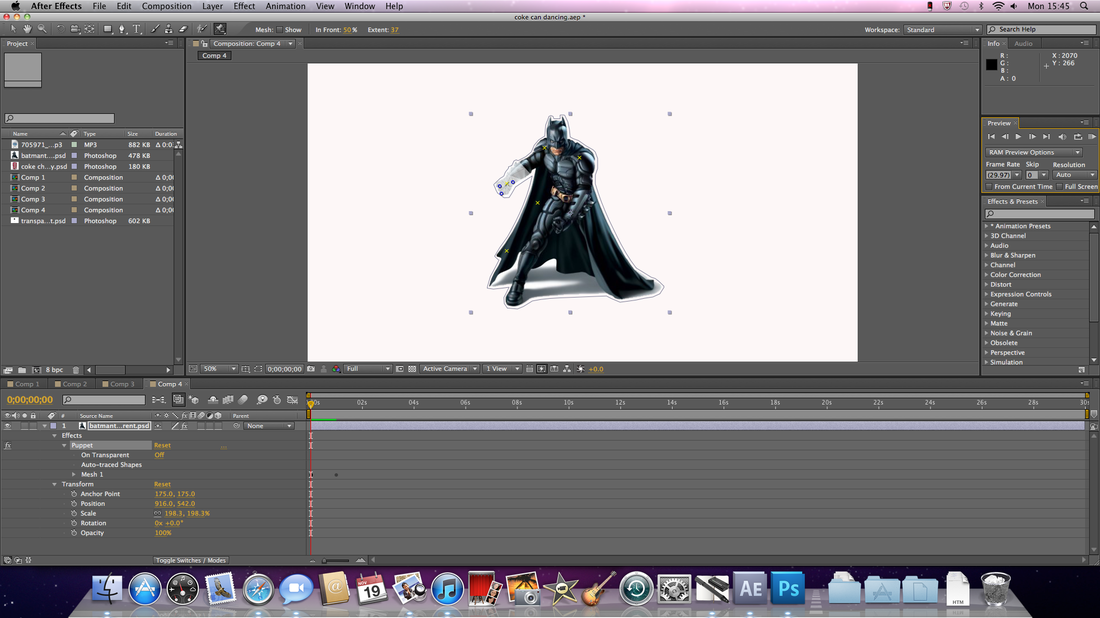
I was given a task to find an image of a superhero/villain,
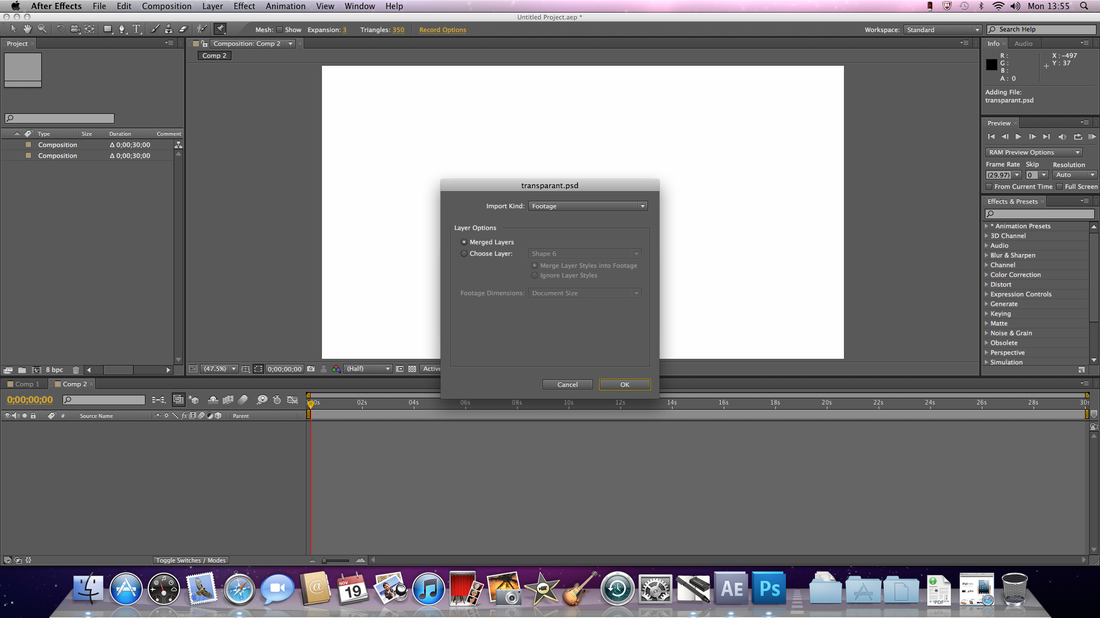
then I had to recreate some body movements on that image. I took my image of
Batman into Photoshop and I made my background transparent so that if I moved
my character it wouldn't affect the background. I then imported my saved image
into After Effects, I used the Puppet Overlap tool to create my movements, and
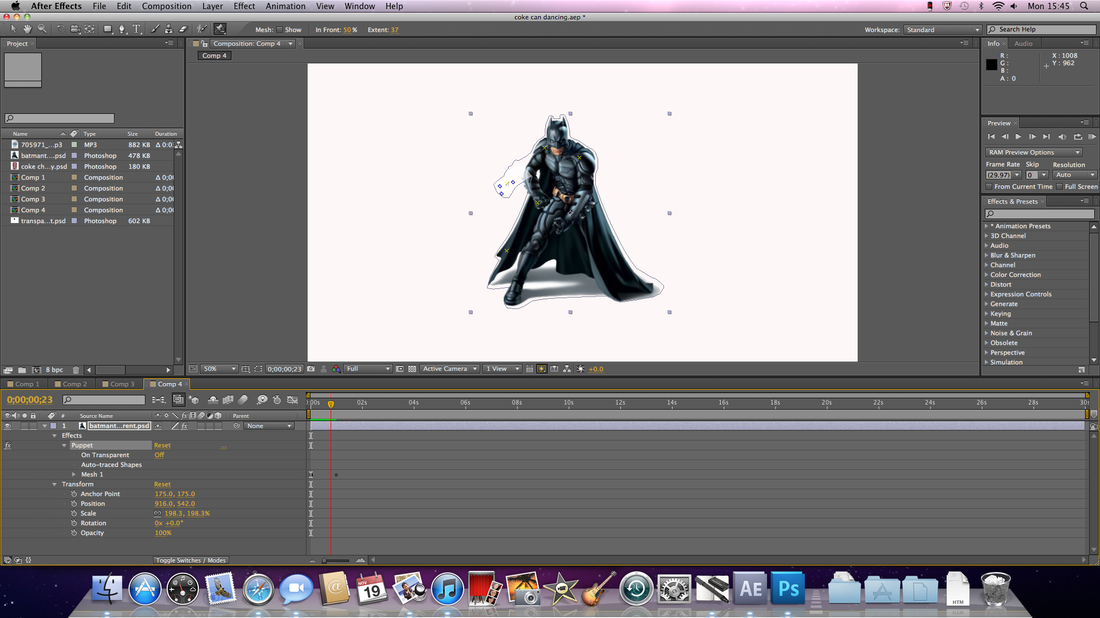
firstly I chose to do a simple arm movement. When distorting one part of an
image, you have to control which parts of the image appear in front of other
parts. For example, if you want to keep an arm in front of the face as you the
arm wave, you’d use the Puppet Overlap tool to apple Overlapping pins to parts
of an object for which you want to control apparent depth. You then apply the
Puppet Overlap pins to the original outline of the image, not to the deformed
one.
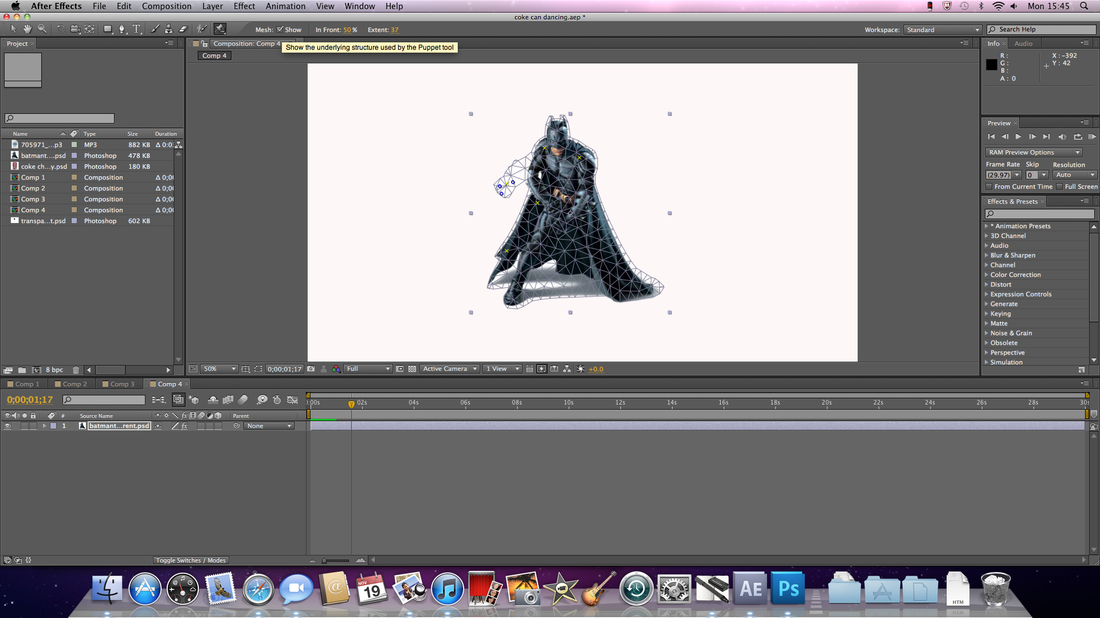
Each Overlap pin has the following properties:
In Front: The apparent proximity to the viewer. The influence of Overlap pins is cumulative, meaning that the In Front values are added together for places on the mesh where extents overlap. You can use negative In Front values to cancel out the influence of another Overlap pin at a specific location.
Extent: How far from the Overlap pin its influence extends. The influence ends abruptly; it does not decrease gradually with distance from the pin. Extent is indicated visually by a fill in the affected parts of the mesh. The fill is dark if In Front is negative; the fill is light if In Front is positive.
